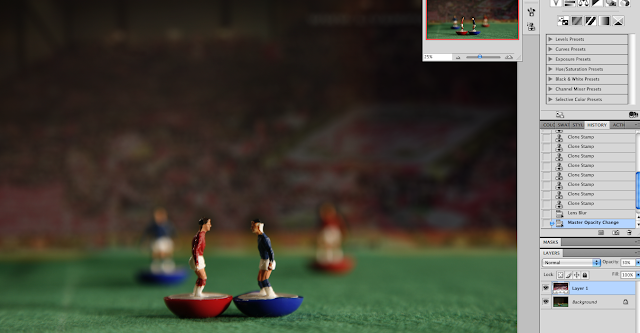
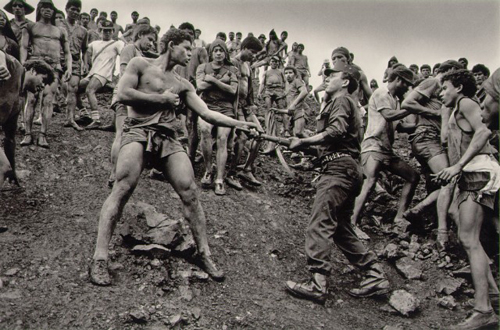
A long search was undertaken to find suitable 'background' images - size, scale and orientation of the crowd / stadia were key considerations. A shot that included the goalmouth needed a crowd image that was also located behind the goal and likewise shots taken across the breadth or corner of the pitch.
Some of the following pictures will show the plan to use the model floodlights in the images by masking in lighting. However, whilst the process worked reasonably well I was unable to bring the floodlights in to the final image in a way that was acceptable.
Whilst I have developed 10 images, many of them use the same techniques. For this reason I will highlight the work flow and key processes used.
All images were shot on RAW and imported in to LightRoom (L2) - were I would also normally do my image processing. However, as L2 is my 'library' tool that's were all work flows start. The images were then immediately exported to PhotoShop for a whole load of manipulation.
For all images they start with the same first steps;
- Open the image
- Open the carefully selected stadia background image
- Drag the background image in to the core image creating a new layer
- Select free transform
Adjusting the background layer takes time and personal judgement. In the above image you can see a brown band that is edge of the table (see Subutteo Set Up). This needs to be removed. There is also a judgment to be made about where the edge of the background image will meet the edge of the Subutteo pitch. I wanted to keep the Ground Stewards in (adding to the reality) but remove the 'real' balls and the 'real' pitch.
In the following image I have adjusted the opacity of the background image to make it easier to align the edges. This will also help with blending later.
Having aligned the edges I needed to;
- Bring forward some background (I want the crowd - around the two players at the top of the image)
- Bring the hoardings up to the edge of the Subutteo pitch
- Keep the players (in first step you can see that the players have a transparent aspect to them).
I then used 'Lens Blur' to match the blurring achieved in the product images by use of shallow depth of field. A bit of a tweak was also required on the background opacity.
In the following image the lightness of the box behind the goal is distracting. I created a 'Pattern Stamp' that could be used to replace this section.
You can see in the above image that the players are now glowing like the 80's Ready Brek children.
I used the same technique with a much smaller brush close up.
You may recall I decided not wanting the Subutteo Floodlights in the shot. To remove them I applied a copy layer to the core image and then a quick mask.
Making The Ball Move
Now, anyone who recalls Subutteo will also recall that the ball was as big as the players. In the final shots I want the ball to be more 'life like'. Also, as the images are all 'stills' I wanted to create the impression of movement. Here's my solution.
I'd planned the final image in advance. I'd positioned the players to simulate a goal being scored from a 'header'. I'd also taken shots of the ball in isolation.
As you can see in the above shot I used the 'Magic Wand' tool - with a low tolerance - to select the ball. I then used the 'Move' tool to transfer in to the chosen image.
'Free Transform' and a process of trial and error was used to get to the final position and size right.
Now to get some movement. Firstly I copied the same ball in (adding another layer).
I then used a combination of motion blur and 'stretching' the image to create the motion effect. Getting the angle approximate the required trajectory - heading towards the roof of the goal.
Again the iteration of trial and error was used to get both ball size, amount of blur and stretch right. Stretching the ball (using Free Transform) also caused the ball image to fade and this had to be factored in to the amount of blur used.


Hi
ReplyDeleteWell evidenced in what you have done and why and this will meet criteria more easily, such as p4 and c3 and more likely to hit d3 if you explain about all the camera and lighting equipment you used either in this blog or in another, as you will meet criteria in several blogs.
steve
Hi
ReplyDeleteThis is a good level of working and evidencing work and I realise it takes time. Dont forget your other theme needs as much time to achieve, time management need to keep an eye on. One theme is only 50% of the marks.
steve